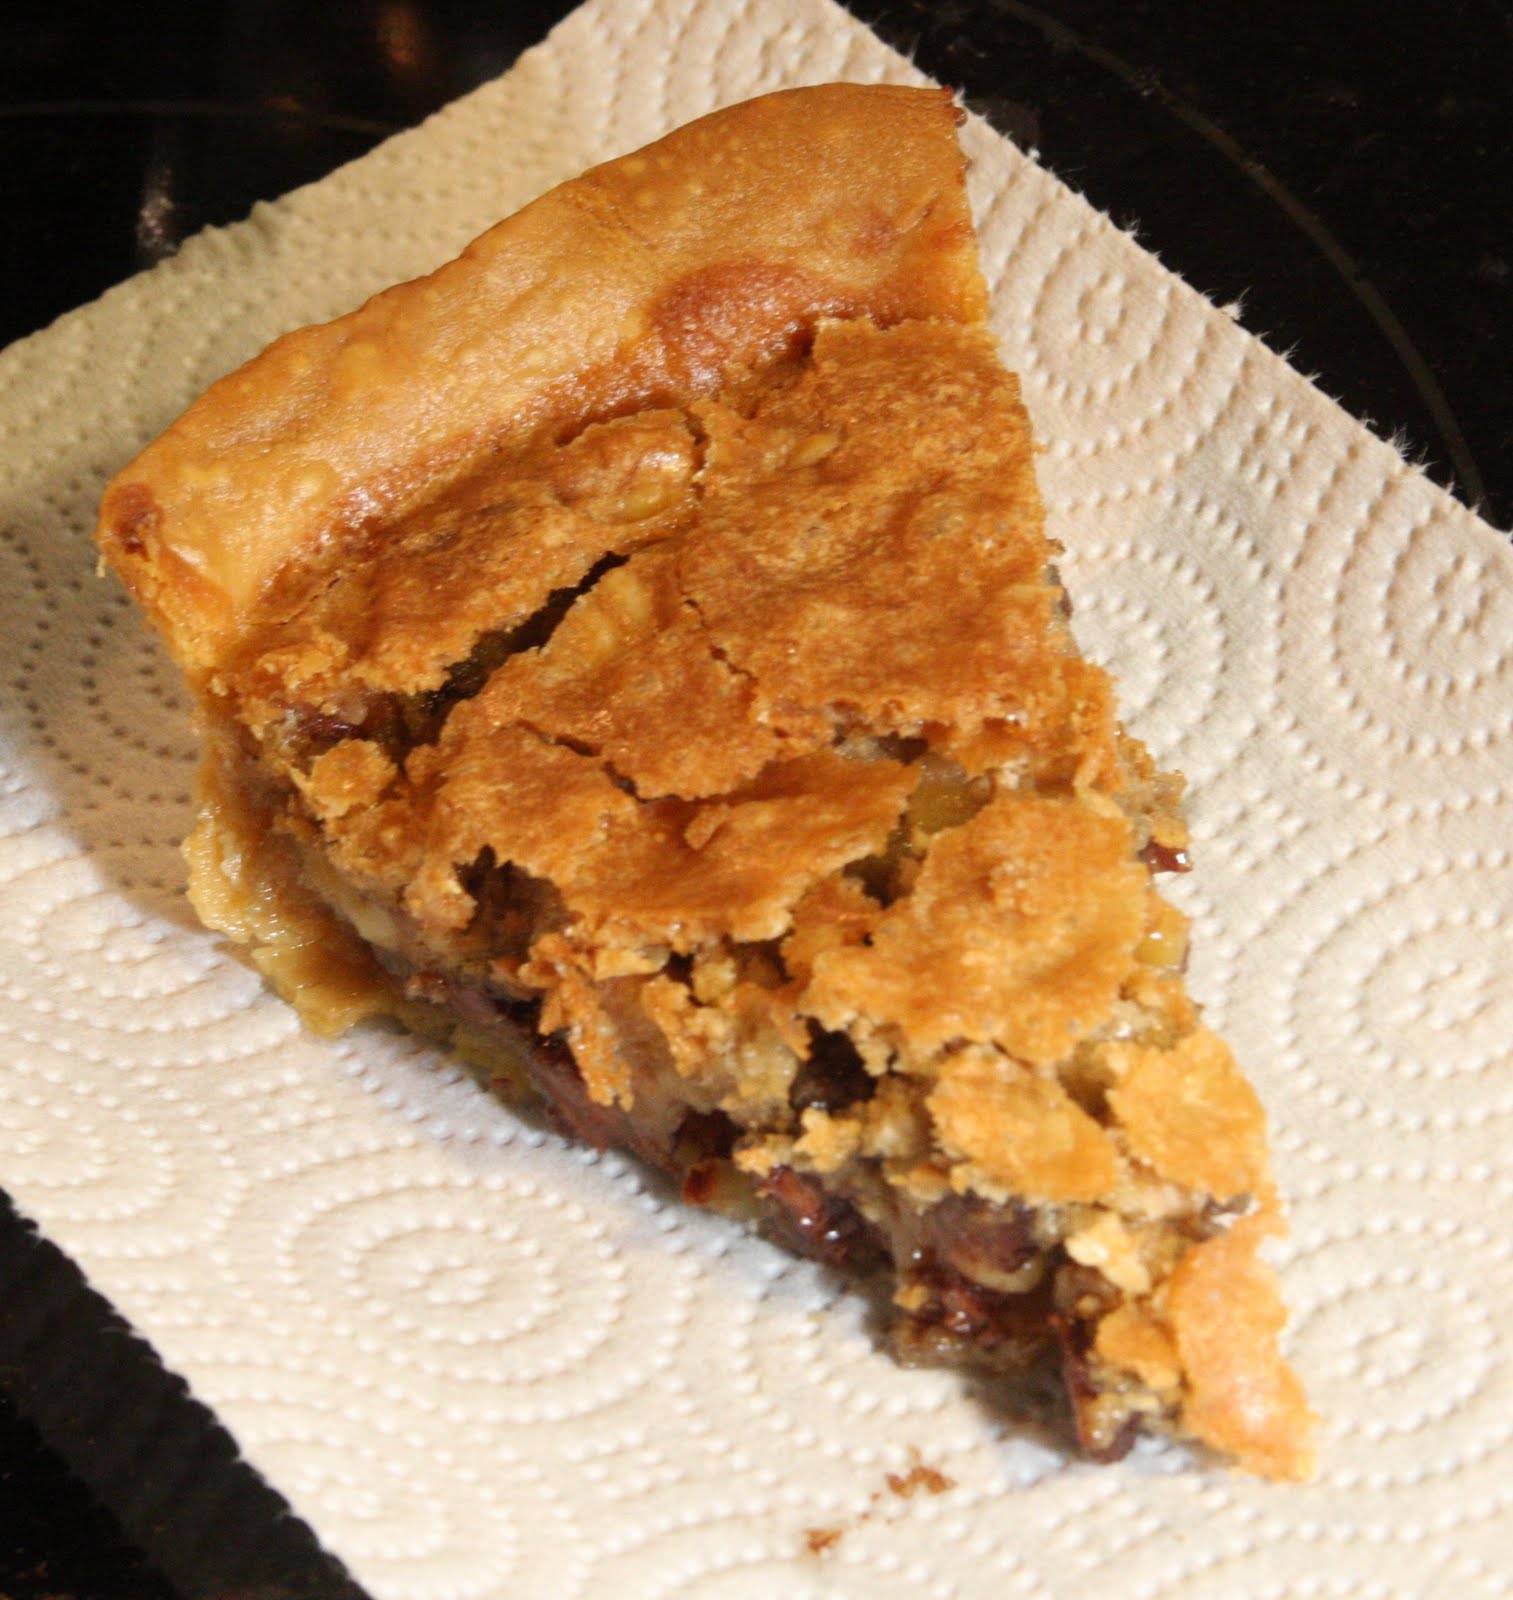
Friday, September 30, 2011

Traditional Apple Pie

Slice of apple pie
I am a fan of what my husband calls nontraditional apples pies: caramel apple pie; apple pie with a brown sugar crumb topping; apple pie with cardamom; and my all time favorite, sour cream apple pie. When I asked my husband what else he wanted done with the apples, I knew the answer would be "apple pie." By apple pie he meant traditional apple pie. I guess I would make my nontraditional pie another day.
The key to a good apple pie is the apples and the crust. I like Johnathan apples or Jonagold for my pies or a mix of apples. More importantly I always try to find locally grown apples, and I am willing to change my apple choice for what is fresh (or frozen from my freezer).  I cannot stand mushy apples in my pie. Yuck! So I steer clear of apples that get mushy when they cook. How do I know which ones to get? Well, I talk with the local farmers and discuss with them this year's harvest and what they suggest. They have never lead me astray.  I am hoping to have my own apples next year (and peaches and blueberries); my adventures in gardening and landscaping could be a whole another blog (unfortunately it would be a comedy).
The Crust

I believe that the more you make crust, the better your crust will be. You will begin to understand how the dough should feel and look and it will become second nature (but you will have missteps as I did below. Missteps are not the end of the world. Your pie will still (most likely) taste good, it just might not be as pretty). I love crust- I love eating raw dough, the scraps of dough baked with a little cinnamon and sugar, and of course the crust on a pie. I think I might like the crust more than the filling.  My favorite is a crust made with lard but I don't use lard anymore. I am amazed that a couple of ingredients can be transformed into something so delightful.

3 Cups (375 g)  of Unbleached Flour
1 Tsp of Salt
3/4 Cup (143 g) of Shortening
6 to 9 Tbsp of Ice Water
1 Egg, Beaten with 1 Tsp of Water (to seal the bottom of the crust and to brush the top of the crust- not needed until you roll the crust out)

Fill a small glass with water and ice. Place the glass of water and a tablespoon next to your workspace.
Combine flour and salt in a large bowl. Add the shortening with either a pastry blender (cut the shortening into the flour), two knives (cut the shortening into the flour), or your fingers (I use my fingers to rub the shortening into the flour).
Ready to cut in the shortening
Do not overwork the dough. You should stop when the largest pieces are about the size of peas. Next add the water by adding 2-3 tablespoons of water and gently mix. Slowly add water (sometimes by tablespoons and towards the end by drops) into the dough until the dough sticks together.
Ball of dough. I should have added a bit more water.
Shape the dough into a ball and divide into two pieces. Gently form the two pieces into flattened round discs. Cover each disc with plastic wrap and place in the refrigerator for at least two hours and up to overnight. When you are ready to roll out the dough, take the dough out of the refrigerator and let it sit out (at room temperature) for about 10 minutes before trying to roll it out. (I take the dough out of the refrigerator while I am making the filling.

Note **** Before rolling out the dough, you should have your filling done and ready to go. Also at this point preheat your oven to 450F/232C/Gas Mark 8.

Place the dough on a lightly floured wood surface and roll out from the center of the dough. In a pinch, I have used a floured glass before to roll out my dough but it is a lot easier to use a lightly floured rolling pin.

Place the bottom crust into the pan and gently press it into space.  If you want pretty edges, trim the edges so they are even but leave enough to make a pretty edge. Brush the bottom of the crust with a beaten egg with a little bit of water.
My dough was a little dry and I had to patch the dough on the bottom crust
Roll out the top crust and have it ready. Once it is rolled out, fill the bottom crust with the filling. I always over fill my pie so I have a lumpy pie (I like extra apples in my pie. If you don't want a lumpy pie, put less apples in and have them level with the sides of the pie dish. Place pieces of butter on top of the filling.

Ready for the top crust
Place the top crust on top of the filling and make your edge. I make mine by pinching the dough together. (I have never been known to have pretty pie edges).

Finally, brush the top of the crust with the egg water mixture and sprinkle with cinnamon sugar. Cut a couple of vents into the pie so the hot air can escape.

Bake for 10 minutes at 450F/232C/Gas Mark 8 and then lower to 350F/176C/Gas Mark 4 and bake for an additional 40 minutes. The pie should be golden brown. If your pie crust is getting too brown, cover the edges with foil.

Filling

Please modify this recipe based on the sweetness/tartness of your apples. I like to add the sugar and the spices a bit at a time and taste the filling to get it just right.


1 Tbsp of Lemon Juice
1 Tsp of Brandy (Optional)
1 Tbsp of Unbleached Flour
1 Tsp of Cinnamon
1/4 Tsp of Nutmeg or Allspice
1/4 Cup to 1/2 Cup (50 g to 100g) of White Sugar
1/4 Cup to 1/2 Cup (55g to 109g) of Light Brown Sugar, Packed
2 Tbsp of Butter (To put on top of filling)
Cinnamon Sugar (To sprinkle on the top of the pie)

Combine the apples with the lemon juice and the brandy. Add half of the spices and sugar and all of the flour.
Apple pie filling
Taste an apple and add more spices and sugar, if necessary.

Freshly baked apple pie
The bottom line: will I make this again? Yes, but my next apple pie will be a nontraditional pie.

Wednesday, September 28, 2011

Applesauce

Finished apple sauce
My daughter, Katie, used to love applesauce. I don't know what happened but applesauce has fallen out of favor. I love applesauce, especially with potato pancakes. I am hoping that Katie will like homemade applesauce. I will even serve it with potato pancakes. With my luck she will decide she no longer likes potato pancakes. Wait... that is not necessarily a bad thing. That means more for me.
Since we are rich in apples, I decided to make enough to can. The toughest part about applesauce is deciding what spices to use. The rest is really easy.  My family loves cinnamon so I made our applesauce with lots of cinnamon (that was the no-brainer part).  I decided to use the leftover dip from the dehydrated apples for the apple sauce.
This mixtures makes the apple sauce
Left Over Dipping Sauce from Honey Cinnamon Apples (1 Tbsp of Cinnamon, 2 Tbsp Lemon Juice, 1/2 Cup of Honey, 2 Cups of Water)
6 Apples, Cored and Sliced

Dump the apples and the dipping sauce into a saucepan and heat on low until apples are tender. I cook mine for about an hour. There should not be much liquid remaining in the saucepan.
Cooking the apples

Cool slightly and process through a food mill or in a food processor or mash with a fork.
In the food processor
Since I keep the skins on my apples (I think the skins add a lot of flavor), I process mine in a food processor. That's it! Easy, easy, easy!

The bottom line: Will I make this again? Yes, it is wonderful! I froze some for this winter. I am going to have it with my potato pancakes.

Sunday, September 25, 2011

Honey Cinnamon Apples

I love my apple peeler
Did I mention that I have a lot of apples? I do. I made apple butter for Steven and then I made dehydrated apples for me. Dehydrated apples are brilliant; they are tasty and keep for a long time (not that they last long enough for me to find out). I have an old fashioned apple peeler, corer, and slicer which cuts the work in half.

Honey Cinnamon Apples
6 Apples, Peeled, Cored, and Sliced
2 Cups of Water
2 Tbsp of Lemon Juice
1/2 Cup of Honey
1 Tbsp of Cinnamon

Whisk together water, lemon juice, honey, and cinnamon in a bowl.
Yummy dipping sauce (there will be a lot left over so I use it for apple sauce)
Dip apple slices in the bowl and lay in a single layer on a dehydrator (or a cookie sheet).
Apples in the dehydrator
The time necessary for dehydration depends on how thick your apple slices are so check every so often. Turn dehydrator on and dehydrate for 12-24 hours until apple slices are leathery but still flexible. If you are using the oven, place the apples on cookie sheets and dehydrate at 150F/65C/ Gas Mark 1 for 10-20 hours or until the apple slices are leathery but still flexible. If you are using the oven, move the trays around and flip the apple slices periodically.
Save the left over dipping sauce for homemade applesauce.
How could I say no to this face?
The bottom line: Will I make this again? Yes! We were opening the dehydrator eating these before they were even done. So easy and so good and they make the house smell divine.

Friday, September 23, 2011

Brandy Apple Butter

Filling jars of apple butter
 My husband loves apple butter. I think it is one of his favorite foods. This last weekend we went to Weston (I love Weston) and went to the Red Barn Farm (I love Red Barn Farm). We wandered the corn maze, talked to the animals (thankfully, they did not talk back), and we bought apples. We bought 1/2 bushel of apples. That is a lot of apples. Of course, the first thing I made was apple butter, but not just any apple butter. I made apple butter with brandy and Vietnamese cinnamon which is like cinnamon on steroids. The result was the best apple butter yet.
Five pounds (2.3 kg) of apples
Brandy Apple Butter

5 Lbs (2.3 kg) of Apples, Peeled, Cored, and Cut into Pieces
1 Cup (240 ml) of Brandy
2 Cups (480 ml) of Cider
2 Cups (480 ml) of Water
3 Cups (600 g) of Sugar
3 Cups (684 g) of Brown Sugar
1 Tbsp of Cinnamon
1/4 Tsp of Ground Nutmeg
1/4 Tsp of Ground Allspice
1.75 oz. (49.6 g) Package of Pectin

Combine apples, brandy, cider, and water in a large saucepan and heat on low.
Dumping apples and brandy, cider, and water in a large saucepan
Cook until tender, about an hour. Process the apples in a food processor or run through a food mill until smooth like applesauce.
I used a food processor
Pour back into the large saucepan and add the remaining ingredients.
Combining the remaining ingredients
Bring to a boil and boil for two minutes while stirring constantly.
Protecting my arms from the splashing apple butter
Pour into sterilized jars leaving 1/4 inch (1 cm) headroom. Process in a water bath for 5 minutes.

The bottom line: Will I make this again? Yes, but probably not until next year. It makes a lot of apple butter. But then again, Katie and Steven really like this apple butter. I was never a huge fan of apple butter but I really like this. I still like tomato jam more but it is hard to beat tomato jam.

Wednesday, September 21, 2011

New Recommended Temperature for Pork


Is it done?
 In May 2011 the USDA lowered the recommended temperature that whole cuts of pork should be cooked to from 160F/71C to 145F/63C (with at least a 3 minute resting period). I have been using 145F/63C for couple of of years because it results in pork that is pink and juicy. If you cook pork to 160F/71C  (in my opinion) you end up with dry tough pork kinda like shoe leather. The USDA is still recommending that ground pork be cooked to 160 F/71C; poultry be cooked to 165F/74C; and beef to 145F/63C (with at least a 3 minute resting period). What does this mean? Pink pork is perfectly safe.
Baby back ribs- grilled to perfection
Here is the chart from the USDA website:

FRESH PORK: Safe Cooking Chart
Cook all raw pork steaks, chops, and roasts to a minimum internal temperature of 145 °F as measured with a food thermometer before removing meat from the heat source. For safety and quality, allow meat to rest for at least three minutes before carving or consuming. For reasons of personal preference, consumers may choose to cook meat to higher temperatures.
Fresh Pork: Safe Cooking Chart
Cut Thickness or Weight Cooking Time Minimum Internal Temperature & Rest Time
ROASTING: Set oven at 350 °F. Roast in a shallow pan, uncovered.
Loin Roast, Bone-in or Boneless 2 to 5 pounds 20-30 minutes per pound 145° and allow to rest for at least 3 minutes
Crown Roast 4 to 6 pounds 20-30 minutes per pound
Leg, (Fresh Ham) Whole, Bone-in 12 to 16 pounds 22-26 minutes per pound
Leg, (Fresh Ham) Half, Bone-in 5 to 8 pounds 35-40 minutes per pound
Boston Butt 3 to 6 pounds 45 minutes per pound
Tenderloin (Roast at 425-450 °F) ½ to 1½ pounds 20 to 30 minutes total
Ribs (Back, Country-style or Spareribs) 2 to 4 pounds 1½ to 2 hours (or until fork tender)
BROILING 4 inches from heat or GRILLING
Loin Chops, Bone-in or Boneless ¾-inch or 1½ inches 6-8 minutes or 12-16 minutes 145° and allow to rest for at least 3 minutes
Tenderloin ½ to 1½ pounds 15 to 25 minutes
Ribs (indirect heat), all types 2 to 4 pounds 1½ to 2 hours
Ground Pork Patties (direct heat) ½ inch 8 to 10 minutes 160°
IN SKILLET ON STOVE
Loin Chops or Cutlets ¼-inch or ¾-inch 3-4 minutes or 7-8 minutes 145° and allow to rest for at least 3 minutes
Tenderloin Medallions ¼ to ½-inch 4 to 8 minutes
Ground Pork Patties ½ inch 8 to 10 minutes
BRAISING: Cover and simmer with a liquid.
Chops, Cutlets, Cubes, Medallions ¼ to 1-inch 10 to 25 minutes 145° and allow to rest for at least 3 minutes
Boston Butt, Boneless 3 to 6 pounds 2 to 2½ hours
Ribs, all types 2 to 4 pounds 1½ to 2 hours
STEWING: Cover pan; simmer, covered with liquid.
Ribs, all types 2 to 4 pounds 2 to 2½ hours, or until tender 145° and allow to rest for at least 3 minutes
Cubes 1-inch 45 to 60 minutes
NOTE: Approximate cooking times were compiled from various resources.

Monday, September 19, 2011

Red Wine Plum Preserves

Beautiful plums waiting to become preserves
This preserve recipe developed over a couple of Facebook chats with my friend Megan, who has great instincts when it comes to food. I had 4 pounds of fresh plums and I was trying to decide what to do with them... preserves, jam, jelly, or throw them in a jar of brandy? I have been on a bit of a preserves kick, so I was leaning towards making preserves. My husband voted for plum port preserves and Megan voted for red wine plum preserves. A couple of posts later, I had a rough outline of ingredients and I refined them after tasting the wine I choose to use in the preserves. I think this recipe would still work with a port, although the spices may need to be tweaked slightly. I chose an old vine zinfandel but I think a Pinot Noir would also be delicious. I used a combination of red and black plums. You may need to adjust the sugar based on the flavor of the plums.

Red Wine Plum Preserves

4 Lbs (1.8 kg) (about 12) Plums, Cut in Half and Stones Removed
1/2 Bottle (1 1/2 Cups/375 ml) of Red Wine or Port
2 Tsp of Vanilla
1 Cinnamon Stick
1/4 Tsp of Nutmeg
2 Lbs (.9 kg) of Brown Sugar
2 Tbsp of Lemon Juice
1 Tsp of Butter

Plums, wine, and spices
Combine wine, plums, vanilla, cinnamon, and nutmeg in a large sauce pan over medium-low heat. Heat stirring frequently until plums are soft about 20 minutes. Remove cinnamon stick. Run plums through a food mill or food processor and return to saucepan.
Soft plums ready for the food mill
 Add sugar, lemon juice, and butter and bring to a boil.
Boiling preserves
Boil until setting point is reached. (220F/104C. For information on setting point please see my blog on Blackberry Chianti Jelly). Skim foam, if any, off of top of preserves. Pour into hot sterile jars. Leave an 1/8 inch of headroom at the top of each jar.
Jars of preserves ready for a water bath
Process in boiling water bath for 5 minutes. Remove and let cool.

Plum preserves on a bagel
The bottom line: Will I make this again? Yes, this preserves tastes like autumn. It is rich and earthy. It makes me think of crisp autumn days and big piles of leaves ready to be jumped in. Right now, I have sticky reminders of plum preserves all over my kitchen. It splattered everywhere. Next time I will use a bigger sauce pan.

Sunday, September 18, 2011

Tomato Jam

Tomato jam, so good it glistens
 Jam! Jam! Jam! Jam! Jam! (Not quite as good as Spam! Spam! Spam! but it still has a certain ring to it). I thought long and hard about whether or not to make tomato jam. Tomatoes are a fruit but we normally treat them like a vegetable. Would they make a good jam?  I had 3 pounds of end of the season tomatoes. The weather is getting cooler and the tomato season is drawing to a close. Did I want to use my tomatoes for tomato jam? It took a day to decide but I decided yes, tomato jam it is.
I wanted a sweet spicy tomato jam. So I used brown sugar to sweeten, lemon peppers for spicy, and smoked paprika for well, smokey. I think ancho or chipotle peppers would be splendid in this jam; I used lemon peppers because I have about a hundred of them ripening on two pepper plants.
The next question was whether or not to can it.  To water bath can the pH must below 4.6. Tomatoes fall close to the low acid level and to process tomatoes citric acid or lemon or lime juice needs to be added (about a tablespoon of lemon juice or 1/4 teaspoon of citric acid per pint). Of course, I could always use a pressure cooker to can the tomato jam. I decided to just keep the tomato jam in the refrigerator. It will keep for a couple of weeks in the refrigerator.
The final decision, to skin or not to skin. I decided to skin the tomatoes. I usually don't take the skins off; I think they add flavor to a dish. It is easy to skin a tomato: just cut a "X" onto the bottom of the tomato and drop into boiling water. Boil the tomato for two to three minutes and the skins should come right off.


Tomato Jam
3 Lbs (1.36 kg) of Tomatoes, Skins Removed, Cored, and Diced
1-2 Spicy Peppers, Small Diced
5 Cloves of Garlic, Minced
1 Cup (218 g) of Brown Sugar, Packed
1 Tsp of Smoked Paprika
3 Tbsp of Lime Juice
1 Tsp of Salt

Dump all of the ingredients into a large saucepan and bring to a boil, stirring frequently.
Everything dumped in the saucepan
Lower heat and simmer (just below the boiling point; there should be small bubbles rising gently to the surface) until a jam like consistency is reached (approximately 1 hour to an hour and a half).
Ready to be eaten
Pour into a sterile jar and keep in the refrigerator.
A jar of tomato jam
The bottom line: Will I make this again? Yes, it is brilliant. It is sweet, spicy, and smokey. It can be used just like pepper jelly (over creamed cream and served with crackers). I am going to serve it on grilled bread. It can be used like a super ketchup (on hamburgers, meatloaf, and with french fries). It is amazing on corn bread or on hot biscuits. Well, you get the idea. After I finish this post, I am on my way to the farmer's market to find some more tomatoes so I can make more jam.

Saturday, September 17, 2011

Tomato "Magic Sauce"

Tomato Magic Sauce over pasta
This recipe started when Megan sent me a link for "Magic Sauce" which was loosely based on a chimichurri sauce. The combination of herbs sounded wonderful and it got me thinking. I decided to turn her herb combination into a tomato sauce. Why? Because I love tomato sauce and I still have access to summer ripened tomatoes.

Tomato Magic Sauce
3 Tbsp of Olive Oil
1/2 of a Head of Garlic, Sliced
4 Large Tomatoes, Diced
1 Cayenne Pepper, Diced
1 Tbsp of Sugar
1 Sprig Of Thyme
1 Tsp of Fresh Oregano
1 Sprig of Rosemary (1 Tsp Chopped), Leaves Removed and Chopped
1/4 Cup (5 g) of Basil, Chopped
1/4 Cup (60 ml) of Red Wine
1/2 Tsp of Freshly Ground Black Pepper
1 Tsp of Sea Salt
Combine all of the ingredients in a large saucepan
Combine all of the ingredients in a large sauce pan and heat over low heat until tomatoes are soft.
The tomatoes are tender and the sauce is ready for the next step
Cool sauce and run through a food mill, process in a food processor, or process with an immersion blender.
The processed sauce
Heat and serve over pasta.
The bottom line: will I make this again? Yes, I will next summer. This sauce is best made with summer ripened tomatoes. I am quickly running out of these special tomatoes.

Thursday, September 15, 2011

Cream Cheese Brownies

Cream cheese brownies
 There are some foods that I only make from scratch; for instance, tomato sauce, chocolate chip cookies, and vanilla.  Yes, I make my own vanilla and yes, it is much better than store bought.
Sometimes I use mixes and "dress them up" and the result is just as good as completely from scratch. Cream cheese brownies are one of those dressed up foods. I use Betty Crocker's  Family Sized Dark Chocolate Brownie Mix for these brownies. I like the combination of dark chocolate with the creaminess of cheesecake.

Cream Cheese Brownies

Cream Cheese
8 oz. (226 g) Cream Cheese, Softened
1/3 Cup (67 g) of Granulated Sugar
1 Large Egg
1 Tsp of Vanilla

Beat the ingredients until creamy.
Cream cheese filling
Brownies

Grease the bottom of a 13 x 9  (33 x 23 cm) cake pan. Preheat oven according to package directions.
Make brownies according to package directions.
I hand mix the brownies
Pour brownie mix into cake pan and smooth. Drop the cream cheese mixture by spoonfuls into the brownies.
Cream cheese filling on top of the brownies
Leave space between the spoonfuls of cheesecake. Take a butter knife and run through the cheese cake making a swirl. Bake for the amount of time on the brownie mix box.

Swirling the cream cheese mixture
The bottom line: Will I make this again? Does this question even need to be asked? The bigger question is to frost or not to frost.....

Tuesday, September 13, 2011

Nestle Toll House Chocolate Chip Cookie Pie

A slice of chocolate chip cookie pie
 I read a murder mystery novel, where the main character made pies. I finished the book and all I could think about was, you guessed it, pies. The first of a series of pies I made was chocolate chip cookie pie. Oh my was it good. It is easier to make than chocolate chip cookies and so much better. You need to make this pie. I would like to thank the good people at Nestle for creating this recipe. I only made slight changes to it. If you want to see the original it is available here.


Chocolate Chip Cookie Pie

1 Unbaked 9-inch (23 cm) Pie Crust
2 Large Eggs
1/2 Cup (63 g) Unbleached Flour
1/2 Cup (100 g) Granulated Sugar
1/2 Cup (109 g) Packed Brown Sugar
3/4 Cup (1 1/2 sticks/170 g) Butter, Softened
1 Tsp of Vanilla
1 Cup (6 oz/170 g) Milk Chocolate Chips or Chunks
1 Cup (120 g) Chopped Walnuts

Preheat the oven to 325F/162C/ Gas Mark 3.

Place pie crust in pie dish. Beat the eggs in large mixer bowl on high speed until foamy. Beat in flour and sugars. Once combined, beat in butter and vanilla. Stir in chocolate chips and nuts.
Gently stirring (or folding) in the nuts and chocolate
Spoon into pie shell.
Ready for the oven
Bake for 55 to 60 minutes or until a knife inserted halfway between edge and center comes out clean. Cool and then eat. (Actually I did not wait until it was cool - it was still warm and gooey).

The bottom line: Will I make this again? Yes, I will but I will make it for a party so I don't eat all of it.

Saturday, September 10, 2011

Ode to a Pepper

The lemon pepper
In several of my recipes, I refer to a "lemon pepper." The version I have (I believe) is the Aji Amarillo or the Aji limon. There seems to be a fair amount of confusion concerning these peppers. There are different varieties of the hot lemon pepper. Here are the different varieties I have found: Aji Limon; hot lemon pepper (Capsicum annuum); hot lemon pepper; and lemon drop. I believe that the different varieties have different levels of heat because I as searched for information the level of heat reported ranged from medium heat to a heat just shy of a habanero.
Immature peppers
No matter which variety it is, it is my favorite of all of the hot peppers. It is spicy (one will work for a pot of gumbo) with a bit of a citrus taste. I grow mine each summer and always have a bumper crop of peppers (some nurseries carry the plants and you can find seeds and plants online).
The pepper plants
At the end of the summer, I freeze and dry peppers for the winter.  Also, I grind the dried peppers into powder and sometimes I just throw a whole dried pepper into a soup. I also keep some seeds for the next year. I am blogging this now so those of you who love hot peppers can order seeds or plants for next year. I am going to dig my plants up before the first frost and try keeping them alive this winter in the house.
So many peppers

Thursday, September 8, 2011

Watermelon Sorbet

Katie and Steele with our homegrown watermelon
We grew a massive watermelon this summer. We ate some, but still had a lot left over. So, I decided to make watermelon sorbet. I highly recommend this sorbet; it is actually more watermelony (I don't think that is a word) than watermelon. Seriously, the watermelon taste is concentrated so it pops.

Watermelon Sorbet

1/2 Cup (120 ml) of Water
1 Cup (200 g) of Sugar
2 Tablespoons of Fresh Lime Juice
3 Cups (456 g) of Watermelon, Cubed and Seeds Removed

Make a simple syrup by combing water, sugar, and lime juice in a small saucepan and heat until sugar dissolves. Chill.

In a blender or food processor, puree watermelon. Combine pureed watermelon with simple syrup and pour into an ice-cream maker. Freeze according to the manufacturer's instructions.
A scoop of watermelon sorbet
Will we make this again? Yes, it was lovely. It tasted fresh and pure and sweet. Like the best part of summer. Steven put his in a martini glass with a shot of vodka and declared it "a great drink." I was happy with savoring mine and enjoying the last bits of summer.