 |
| Toasting homemade marshmallows |
I have read several marshmallow recipes stating that homemade marshmallows are so much better than store bought and are easy to make. I tried them the first time and they were an abysmal failure. They didn't fluff. They were a thick mass of yellow goo. It was a disgusting inedible mess. I was not going to let the marshmallows win. I decided to make them again. The second time I made them they were fantastic. So much better than the store bought. The key to making them was a reliable candy thermometer and a high power mixer.I tested my candy thermometer by boiling water and verifying that it read 212 F/100 C.
Marshmallow Recipe
(From Alton Brown His recipe is available here: http://www.foodnetwork.com/recipes/alton-brown/homemade-marshmallows-recipe/index.html)
- 3 Packages Unflavored Gelatin (For a Total of 3/4 oz or 21 g)
- 1 Cup (250 ml) Ice Cold Water, divided
- 1 1/2 Cup (12 oz) (225 g) Granulated Sugar
- 1 Cup (250 ml) Light Corn Syrup
- 1/4 Tsp Kosher Salt
- 1 Tsp Vanilla Extract
- 1/4 Cup (30 g) Confectioners' Sugar
- 1/4 Cup (31 g) Cornstarch
- Nonstick spray
Combine the confectioners' sugar and cornstarch in a small bowl. Lightly spray a 13 by 9 inch (33 cm by 23 cm) metal baking pan with nonstick cooking spray. Add the sugar and cornstarch mixture and move around to completely coat the bottom and sides of the pan. Return the remaining mixture to the bowl for later use. Set the prepared pan aside for later.
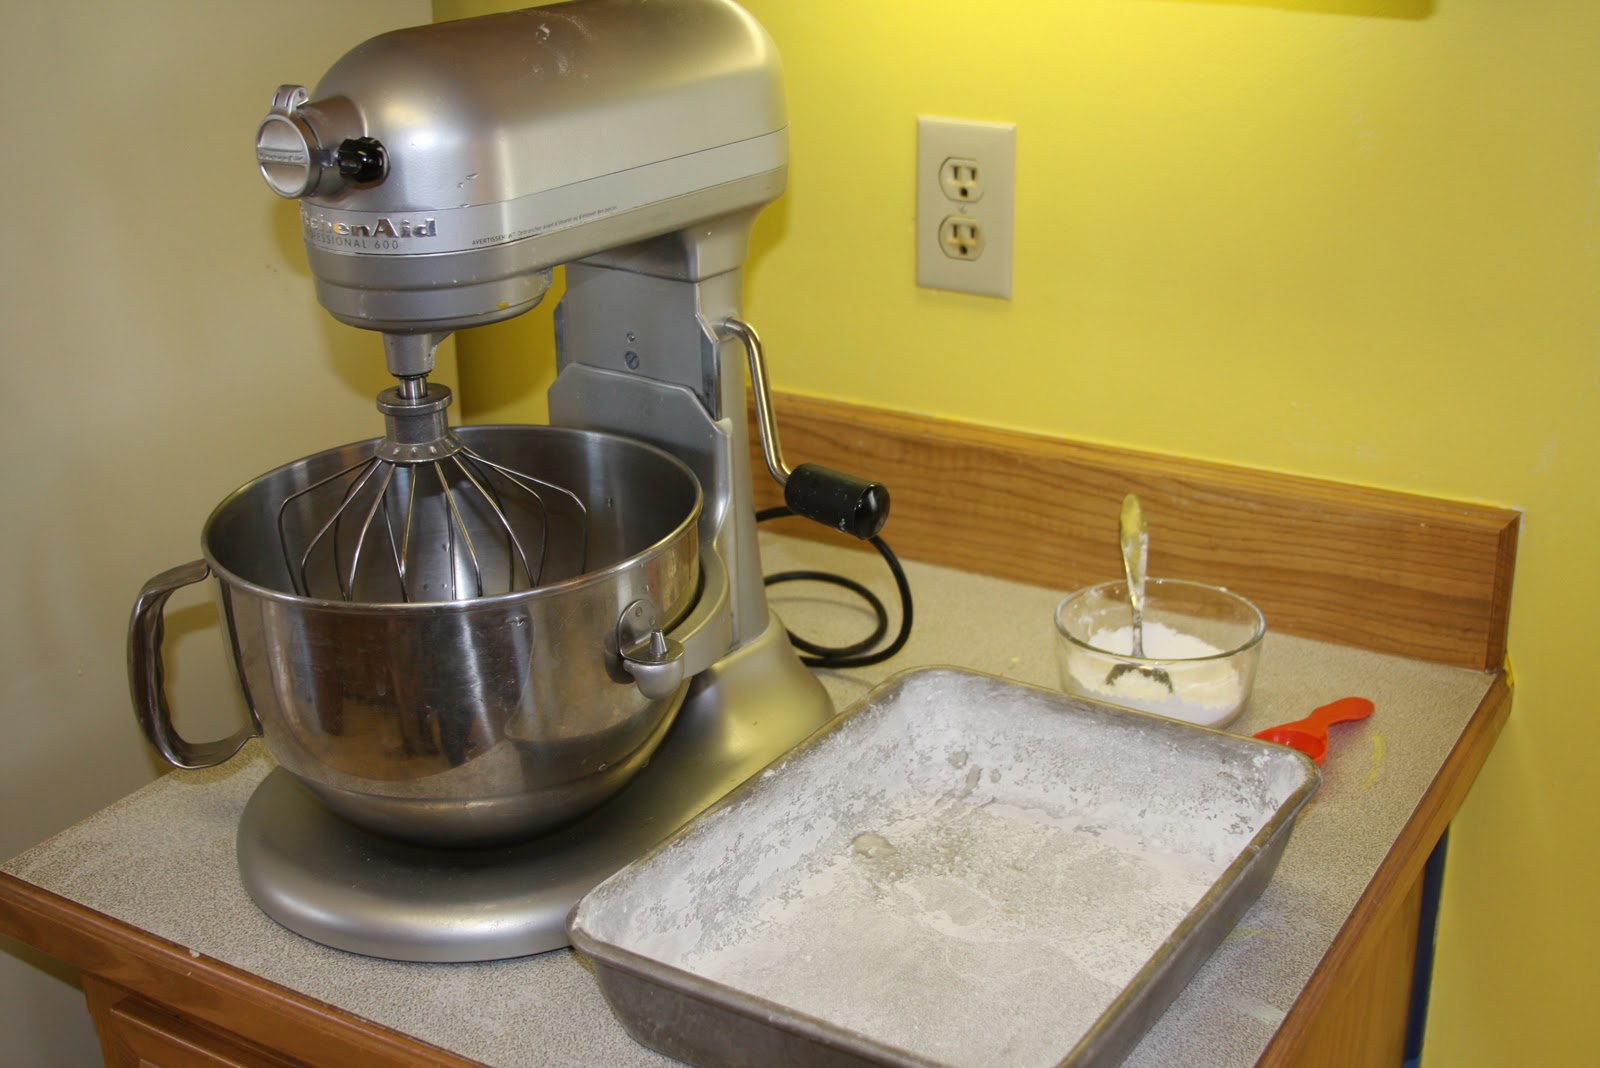
Place the gelatin into the bowl of a stand mixer along with 1/2 cup (125 ml) of the water. Have the whisk attachment standing by.
 |
| Everything is ready to go |
In a small saucepan combine the remaining 1/2 cup (125 ml) water, granulated sugar, corn syrup and salt. Place over medium high heat, cover and allow to cook for 3 to 4 minutes.
 |
| Covered and cooking |
Uncover, clip a candy thermometer onto the side of the pan and continue to cook until the mixture reaches 240 F/ 116 C), approximately 7 to 8 minutes. (Note-- It took my mixture a lot longer than 7 minutes to reach the correct temperature).
 |
| All ready |
 |
| It's boiling but it isn't at the right temperature |
 |
| Still not there. |
Once the mixture reaches this temperature, immediately remove from the heat.
 |
| I put the pouring shield on the mixer |
Turn the mixer on low speed and, while running, slowly pour the sugar syrup down the side of the bowl into the gelatin mixture.
 |
| Adding the sugar mixture. It is HOT |
Once you have added all of the syrup, increase the speed to high.
 |
| Mixing |
Continue to whip until the mixture becomes very thick and is lukewarm, approximately 12 to 15 minutes. Add the vanilla during the last minute of whipping.
 |
| Almost done |
When ready, pour the mixture into the prepared pan, using a lightly oiled spatula for spreading evenly into the pan. (The mixture is sticky!)
 |
| Attempting to put the sticky mixture in the prepare pan |
 |
| Still working on it! |
Dust the top with enough of the remaining sugar and cornstarch mixture to lightly cover. Reserve the rest for later. Allow the marshmallows to sit uncovered for at least 4 hours and up to overnight.
Turn the marshmallows out onto a cutting board and cut into squares using a pizza wheel dusted with the confectioners' sugar mixture.
 |
| Trust me-- the pizza wheel is so much better than using a knife |
Once cut, lightly dust all sides of each marshmallow with the remaining mixture, using additional if necessary. Store in an airtight container for up to 3 weeks.
These marshmallows are amazing in hot chocolate and incredible toasted.
 |
| A perfectly toasted marshmallow |
Do I think the marshmallows are worth the work? Yes they are. I will be making them again. Next time I will add a different flavoring- maybe almond.


Update: I made these again and substituted 1 tsp of coconut extract for the vanilla and they were amazing!
ReplyDelete