 |
| Still work to do but it is almost done |
We have a house on a small lake outside of Kansas City, Missouri. It is quite and peaceful and full of wildlife. We love it. We plan on retiring to our lake house some day. We have been slowly working on rehabbing the house and have actually made progress. It finally it was time to work on the kitchen. (At the bottom of the post are some before pictures).
The kitchen is not quite done and it has taken quite a bit of time. It seemed like it took forever to decide on what to do with our kitchen. Then it took awhile to get up the courage and time to do it ourselves. Our first choice of colors was a dismal failure. We thought we wanted a bright sunny kitchen so we painted the kitchen yellow. It was awful. It was French's mustard yellow. It didn't look that violently yellow in the store but it certainly did on our walls.
 |
| The yellow was awful! |
Then we bought a rug (on sale) for the family room next to the kitchen and everything changed.
 |
| The whippets playing on the rug that changed everything |
One of the walls in the family room no longer matched the rug, so it had to be changed. The color scheme and the style of the house changed. Steven decided to take the wall between the kitchen and the family room out and the kitchen color scheme changed to brown.
 |
| Steven taking out the kitchen wall |
We used our favorite color of brown paint on the walls (Benjamin Moore Valley Forge). We were concerned with using brown on the walls because we thought, incorrectly, that the room would appear smaller. It didn't. My kitchen became warm and cozy like a cup of hot cocoa on a cold winter's day.
We covered the existing floor with an easy-to-apply laminate. We debated putting in wood floors but I wanted an easy to clean and care for floor. Plus I love the colors in the floor. An added bonus, it was easy to install (you can cut the tiles with scissors!)
 |
| Kitchen floor |
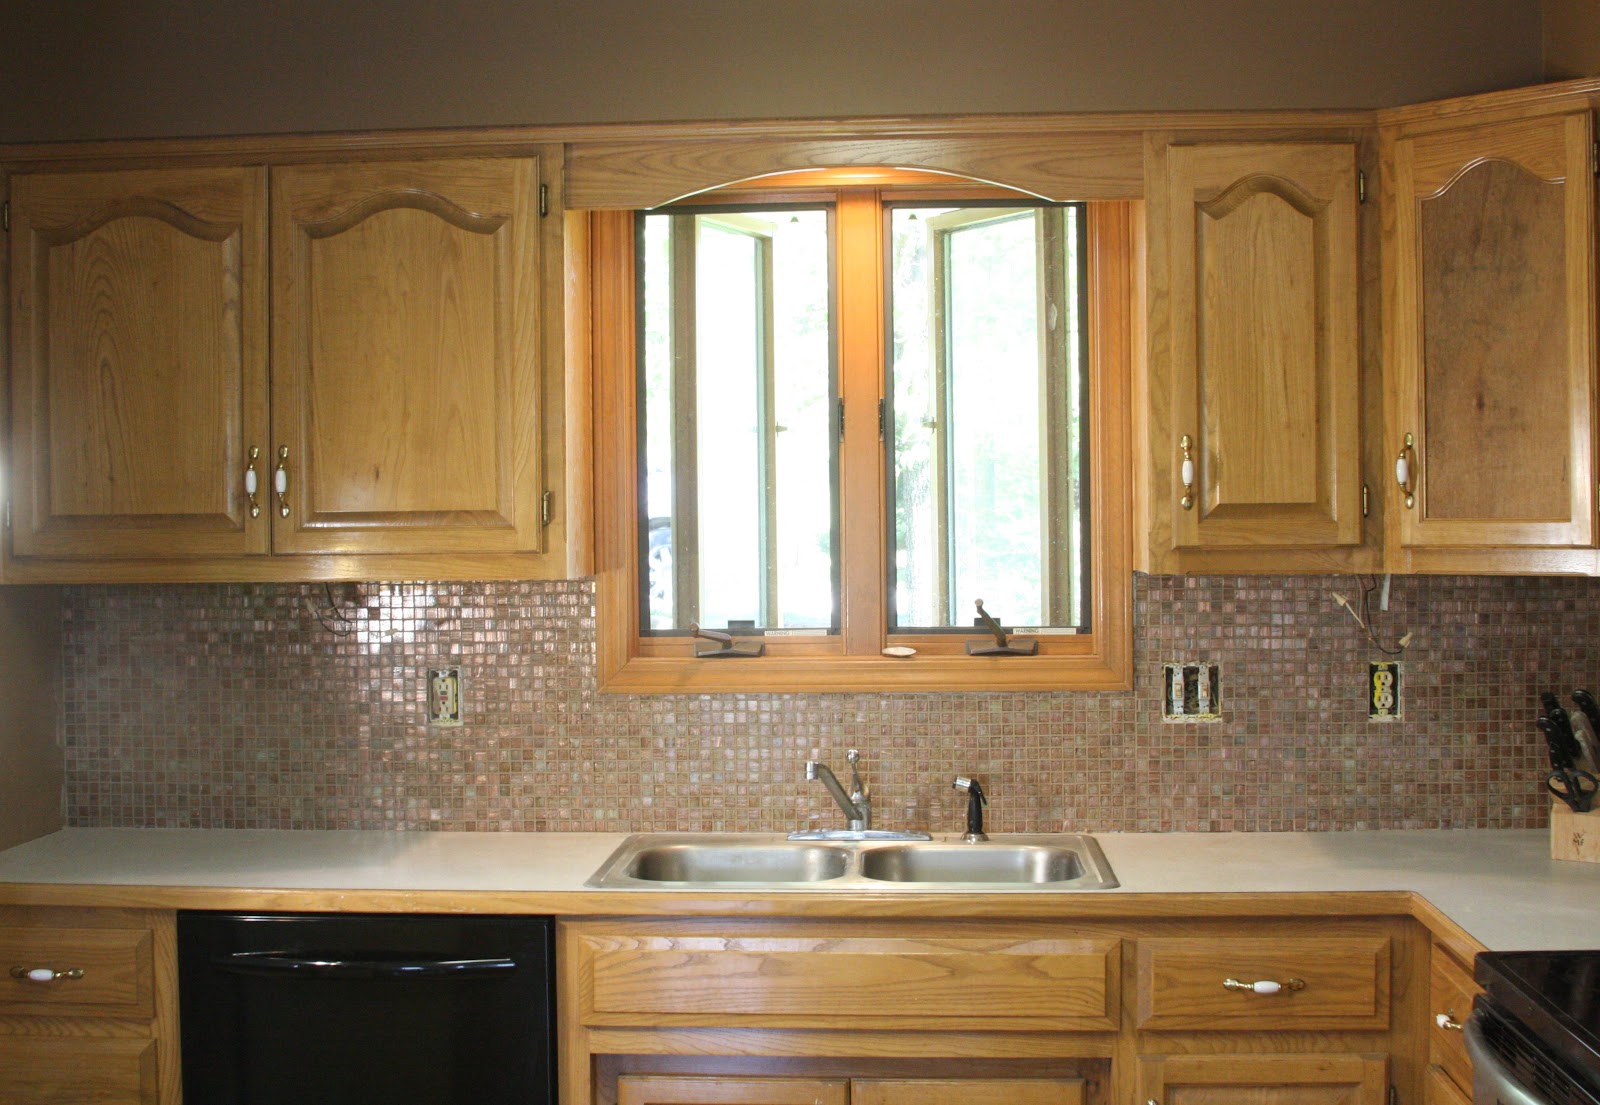
The back splash was the easiest decision. I fell immediately in love with glass tiles. Gail (artist and neighbor extraordinaire) convinced me that we could do it and we did! Part of the way through the project, Gail and I were back at the hardware store buying a tile saw so we (actually Gail) could cut tiles. I was pleasantly surprised; I enjoyed the tile work.
 |
| The back splash is done. |
We went round and round on what to do about the counter tops. We finally decided on counter top coating paint. Basically it is an epoxy to paint the laminate. We read the instructions and got everything ready. We didn't think we needed sandpaper to sand the surface, because the surface is not glossy. Thanks to our neighbor Gail's advice, we bought TSP and cleaned the counter tops. Wow what a difference! All of a sudden we had glossy counter tops. Who knew? They were dingy from 10 plus years of cigarette smoke (the prior owners smoked; I could write a book on our efforts to get the smoke smell out of the house).
 |
| Before |
 |
| After |
So we sanded our now glossy counter tops. We did some more research on how to paint the counter tops and watched a video. Finally, we could delay no longer and Steven rolled on the paint. So far it looks great. Hopefully it will look just as good after a couple of months/years of use.
 |
| Counter tops in process |
Tips from our experience-
- It smells. Make sure you have lots of ventilation.
- Use a fresh paint tray. The paint will dissolve latex paint and it will come off on your roller.
- Use a foam roller to apply and make sure you go in one direction because it will show (at least for the black paint we used).
- Have mineral spirits on hand in case you spill and if you do spill or dip the paint, clean it up immediately!
- Taping is extremely important. The most OCD person working on the project should do the taping.
- When removing tape from hard to reach areas, tuck your shirt in and push up your sleeves.
- Plan for two coats if there is a difference in the color of the surface you are painting and the paint. We ended up doing three coats. We waited an hour between coats.
- Did I mention good ventilation? When we did our kitchen counter tops, you could smell the stuff from the street.
We still have work to do to complete our kitchen makeover. We need to buy and install under the cabinet lighting and an overhead light. The cabinet pulls need to be replaced and new copper colored switch plates need to be installed. Depending on how the counter tops turn out, I may paint the refrigerator black.
The bottom line: You decide. Below are before and after pictures.
 |
| Kitchen before |
 |
| Kitchen floor (before) |
 |
| Kitchen (after) |


No comments:
Post a Comment